Industrial CT Inspection Services
Our range from Micro to Linac CT
CT Inspection Service
Non-destructive examination of all details
by means of 2D radioscopy & 3D computed tomography
In addition to the development and construction of industrial computed tomography and x-ray systems diondo also offers a wide range of non-destructive testing services (CT Services). Our many years of experience make diondo your strong partner for the implementation of your quality objectives. Since only one CT System alone cannot analyze and measure the entire range of different test parts effectively, our machine park also includes the whole range of services from Micro-CT to Linac CT. This allows us to always ensure the best possible price-performance ratio.
CT Systems
Our range from Micro to Linac CT
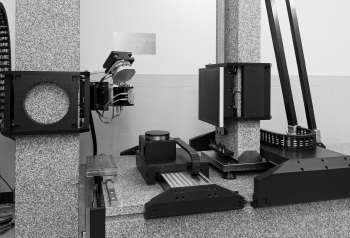
Micro-CT
3D Micro-CT examinations with extremely high precision by a 240 kV Micro Focus X-ray source, 3K area detector and granite manipulator for electronics, light metals and plastics. You can analyze test objects of up to 800 mm in diameter and a height of 2000 mm.
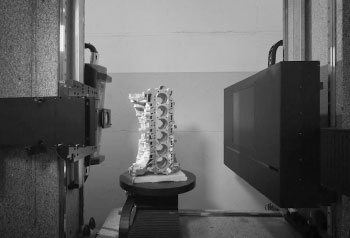
High-energy CT
Flexible combination of a 450 kV X-ray source with a 3K area detector and a 4K Line detector to effectively test dense materials or larger components of up to 5000 mm of height and 1000 mm in diameter.
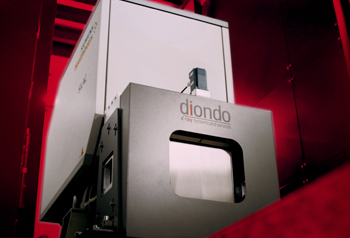
Linac CT
The 6 MeV linear accelerator CT system. Due to the high dose rate the Linac CT is perfectly suited for analyzing test parts with very high density.
CT Applications
Extract from our test services
Material Analyses
Defect Analysis
for a non-destructive search for defects
like voids, pores and inclusions
Fiber Composites
for detecting fiber orientations
and other relevant parameters
Distribution of Materials
Determines cell structures in porous media
and cell structures of grains in powders
Cell Structures
to determine the structures in foams
and filters
Geometry Analyses
Wall Thicknesses
for the localization of insufficient or excessive wall thickness or gap width
Coordinate Measuring
for measurements on even the most difficult-to-access surfaces of a component
Manufacturing Geometry Correction
for the correction of injection molding or casting tools and 3D printing geometries.
CAD-Import
for the additional import of product & manufacturing information (PMI)
Nominal/Actual Comparison
for a comparison of machined components with CAD data, polygon meshes or other voxel data.
Simulation
Structural Mechanics
to simulate mechanical stress directly on the CT data.
Transport Phenomena
for the simulation of fluid, electrical or thermal flow and diffusion, e.g., on porous or composite materials.
Volume Meshing
for the conversion of CT data into meshes for further use in simulations
Your next steps
Please contact us, request further information or make an appointment.
Our general terms and conditions apply.

