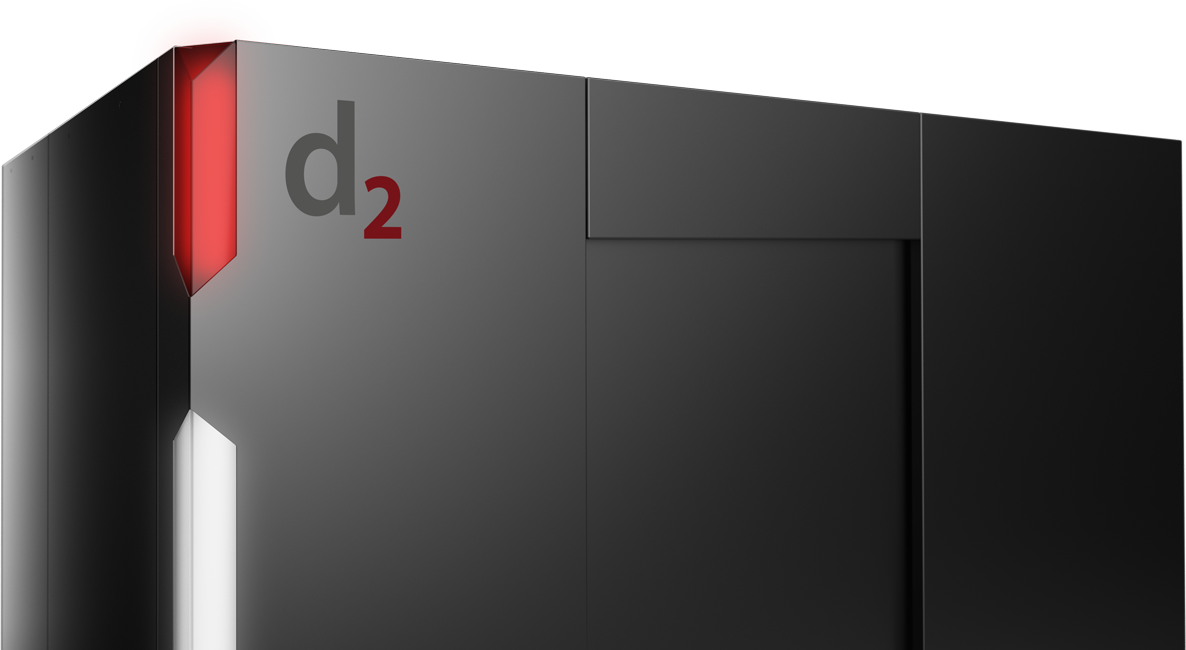
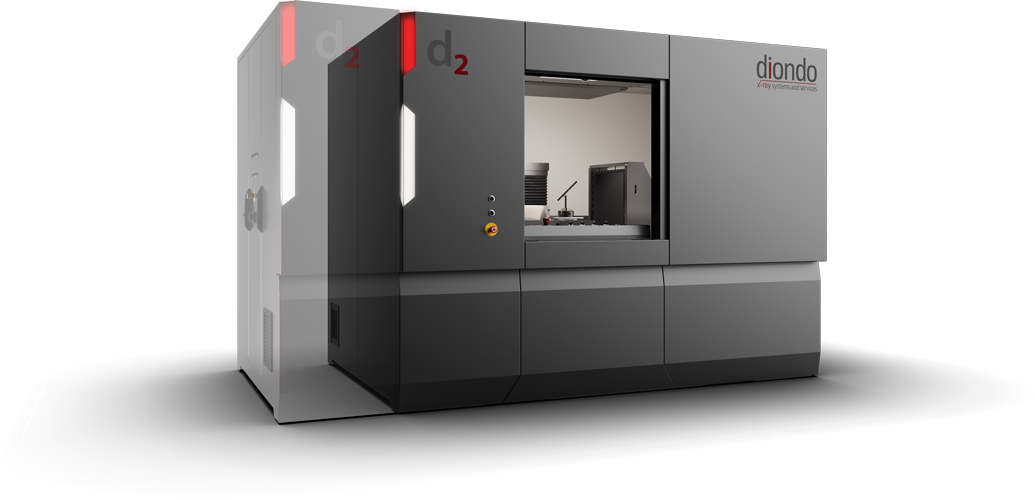
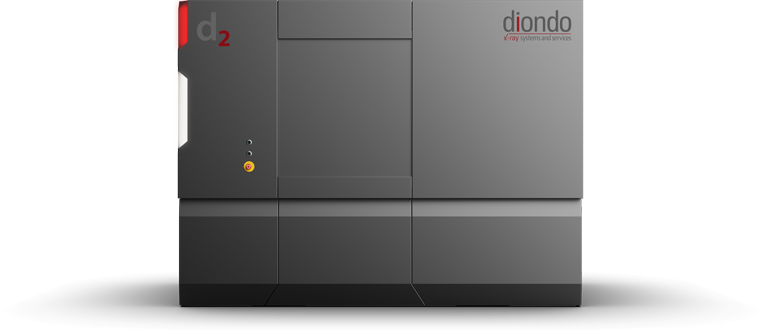
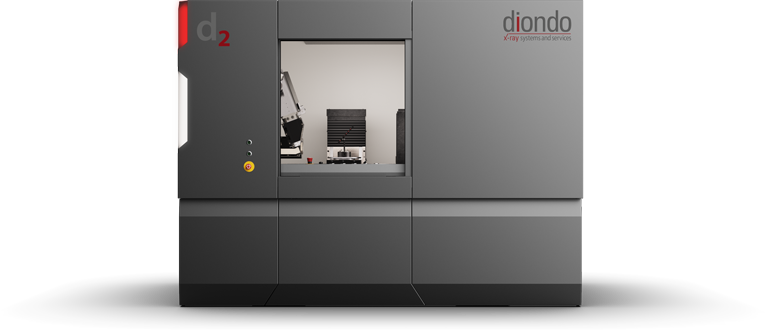
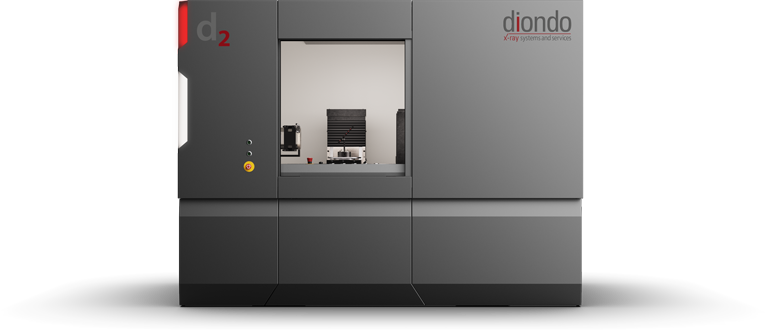
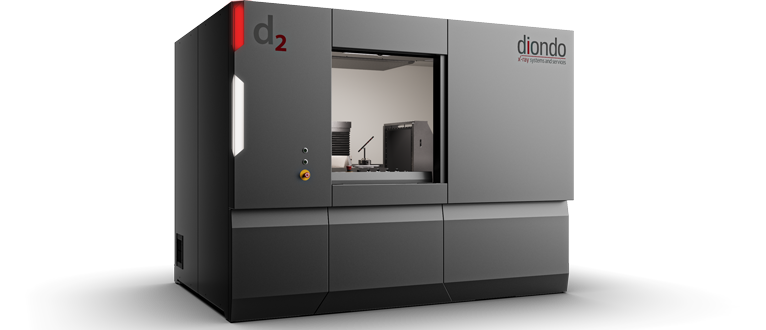
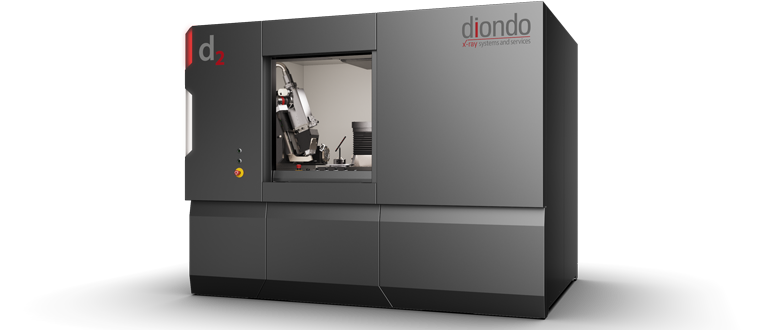
diondo d2
Powerful Micro CT System for Small to Medium-Sized Components
The versatile Micro CT System diondo d2 has been optimized to analyze and measure tiny to medium-sized components. The broad range of applications includes everything from classical non-destructive analyses via high-precision metrological coordinate measuring technology in accordance with VDI/VDE 2630 1.3 up to production control accompanying series. Because of its great adaptability, the Micro CT System sets new standards in science and industry alike.
Features
- High-Resolution 3D Analyses
of materials with low density up to entire assemblies
- Brilliant 3K Detector
for 30% higher detail detectability with extremely short measurement times
- Optional Dual-Tube Configuration
Micro Focus & Nano Focus tubes up to a
maximum of 300kV guarantee excellent
material penetration
- Multi-Axis Granit Manipulator
with infinitely variable distance between focus and detector for maximum resolution
- Numerous Function Modules
for autonomous measuring operation,
in situ analyses and much more.
Flexible Footprint
As a plug-and-play version with integrated control cabinet; or as a stand-alone version with individual adaptation to the planned installation location in the measuring laboratory.Maximum Flexibility
Configurable radiation sources for different material densities and a measuring volume varying from micro-scan to large components.Stunning Resolution in Extremely Short Time
The high-resolution 3K detector in combination with an infinitely variable distance between focus and detector revolutionizes the CT analysis in terms of resolution and scan time.Reliable Measurement Technology
Reproducible 3D measurement results for highest demands through maximum long-term stability and high-precision positioning of the granite manipulator.VDI/VDE 2630-1.3 Metrologie
MPESD von 5 + L/100 µm.
in situ Computed Tomography
Dimensional Measurement & Material Testing
Under Specific Test Conditions
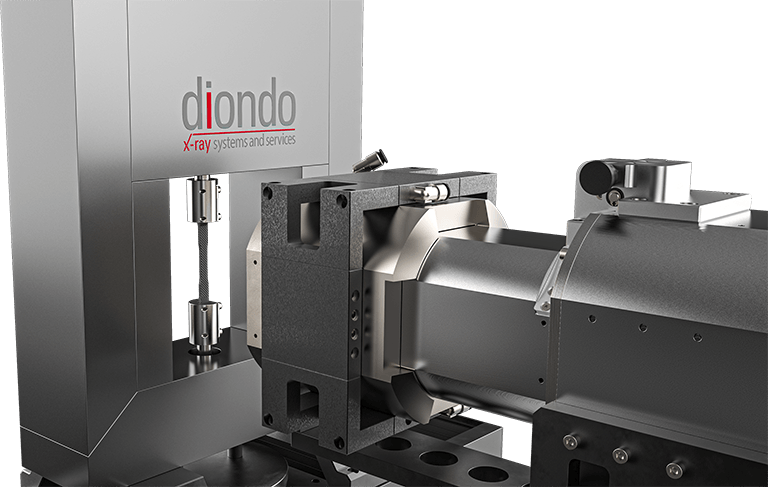
The diondo in-situ enhancements allow 3D visualization of test objects under the influence of tension, pressure, bending and/or temperature. Time-resolved thermal and mechanical testing e.g. of composite materials and additively manufactured components. The special design allows maximum flexibility and a resolution optimized for the size of the component.
Available as tension/pressure unit of 1 kN up to 10 kN, as well as special solution of up to 50 kN.
Available temperature module from -40°C to +200°C, as well as various special solutions for up to 1.300°C.
Choose your Optional Function Module or Equipment Module
The development aimed at performance, flexibility and expandability. Thus, in the course of its life cycle, the system can be enhanced with numerous options within the radiation protection cab. Thus the Micro Focus Computed Tomography System can be configured and adapted exactly according to the customer's specific applications.
Multi-Axis Granite Manipulator
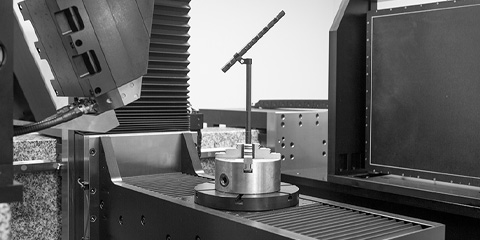
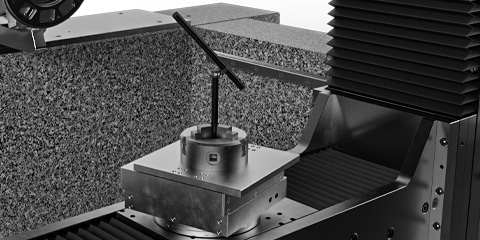
Up to six motorized axes guarantee great flexibility and the best resolution for the respective component size. Maximum long-term stability and high-precision positioning. The motorized, variable and infinitely adjustable distance between focus and detector allows very short measurement times at maximum resolution. This guarantees precise and reproducible 3D analyses of the inner and outer structures of complex objects.
Motorized Filter Changer
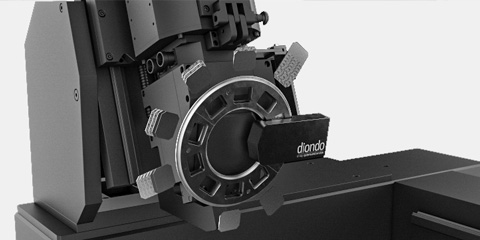
Comfortable and safe operation due to complete integration into the software interface. Up to nine different filter thicknesses / materials can be pre-configured. Allows the automatic exchange of filters during a sequence of CT measurements on different components. Traceability - filter strength and material are automatically logged.
X/Y Table
Allows very precise positioning of test parts across and along the direction of the beam, regardless of the rotation angle. For measurements and analyzes of large and/or heavy test parts. It can be dismantled without tools.
- Variety of Nano Focus configurations up to a maximum of 300kV
- Nano Focus with a performance 3 times higher compared to customary Nano Focus tubes
- Water-cooled diamond target for maximum performance and highest stability of the focal spot
- Ultimate 3D CT resolution
-
AIC - "Automatic Intensity Control" for continuous intensity of the x-ray radiation
- Various Micro Focus Configurations up to a maximum of 300kV
- 350W reflection tube with active target cooling
- Active water cooling of the tube head for highest stability of the focal spot
-
AIC - "Automatic Intensity Control" for continuous intensity of the x-ray radiation
Mounting Station with Automatic Part Changeover
- Maximize your throughput:
- Allows to scan multiple (different) test parts in a row.
- Expansion of the testing capacity:
After the set up of the CT scans the operator no longer needs to be present - night shifts and weekends can be used for capacity expansion without any additional staff. - Radiation protection:
The mounting station is located inside the cabin. Thus opening the lead cabinet without presence of the operator can be avoided. - No restrictions for classic single part tests:
For classic single part tests the mounting station can be moved in a space-saving parking position.
Next generation industrial 3K flat panel detector
The extra large active surface allows analyzing large test parts and thus very often avoids the need to put together individual partial scans (stitching), which is necessary in case of smaller detectors.
- 30% higher detail detectability in comparison to customary detectors
- High sensitivity for extremely short measurement times
- Optimized for a long life in industrial use
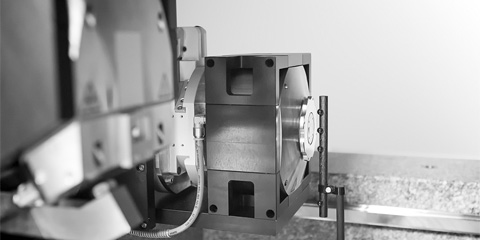
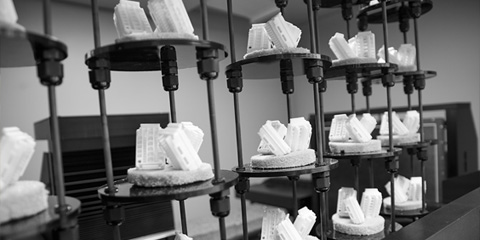
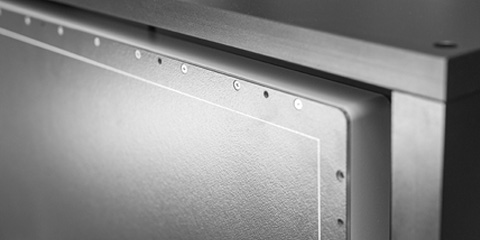

Multi-Axis Granite Manipulator
Up to six motorized axes guarantee great flexibility and the best resolution for the respective component size. Maximum long-term stability and high-precision positioning. The motorized, variable and infinitely adjustable distance between focus and detector allows very short measurement times at maximum resolution. This guarantees precise and reproducible 3D analyses of the inner and outer structures of complex objects.

Motorized Filter Changer
Comfortable and safe operation due to complete integration into the software interface. Up to nine different filter thicknesses / materials can be pre-configured. Allows the automatic exchange of filters during a sequence of CT measurements on different components. Traceability - filter strength and material are automatically logged.

X/Y Table
Allows very precise positioning of test parts across and along the direction of the beam, regardless of the rotation angle. For measurements and analyzes of large and/or heavy test parts. It can be dismantled without tools.

- Variety of Nano Focus configurations up to a maximum of 300kV
- Nano Focus with a performance 3 times higher compared to customary Nano Focus tubes
- Water-cooled diamond target for maximum performance and highest stability of the focal spot
- Ultimate 3D CT resolution
-
AIC - "Automatic Intensity Control" for continuous intensity of the x-ray radiation
- Various Micro Focus Configurations up to a maximum of 300kV
- 350W reflection tube with active target cooling
- Active water cooling of the tube head for highest stability of the focal spot
-
AIC - "Automatic Intensity Control" for continuous intensity of the x-ray radiation

Mounting Station with Automatic Part Changeover
- Maximize your throughput:
- Allows to scan multiple (different) test parts in a row.
- Expansion of the testing capacity:
After the set up of the CT scans the operator no longer needs to be present - night shifts and weekends can be used for capacity expansion without any additional staff. - Radiation protection:
The mounting station is located inside the cabin. Thus opening the lead cabinet without presence of the operator can be avoided. - No restrictions for classic single part tests:
For classic single part tests the mounting station can be moved in a space-saving parking position.

Next generation industrial 3K flat panel detector
The extra large active surface allows analyzing large test parts and thus very often avoids the need to put together individual partial scans (stitching), which is necessary in case of smaller detectors.
- 30% higher detail detectability in comparison to customary detectors
- High sensitivity for extremely short measurement times
- Optimized for a long life in industrial use
Applications
Nothing remains hidden for these test methods
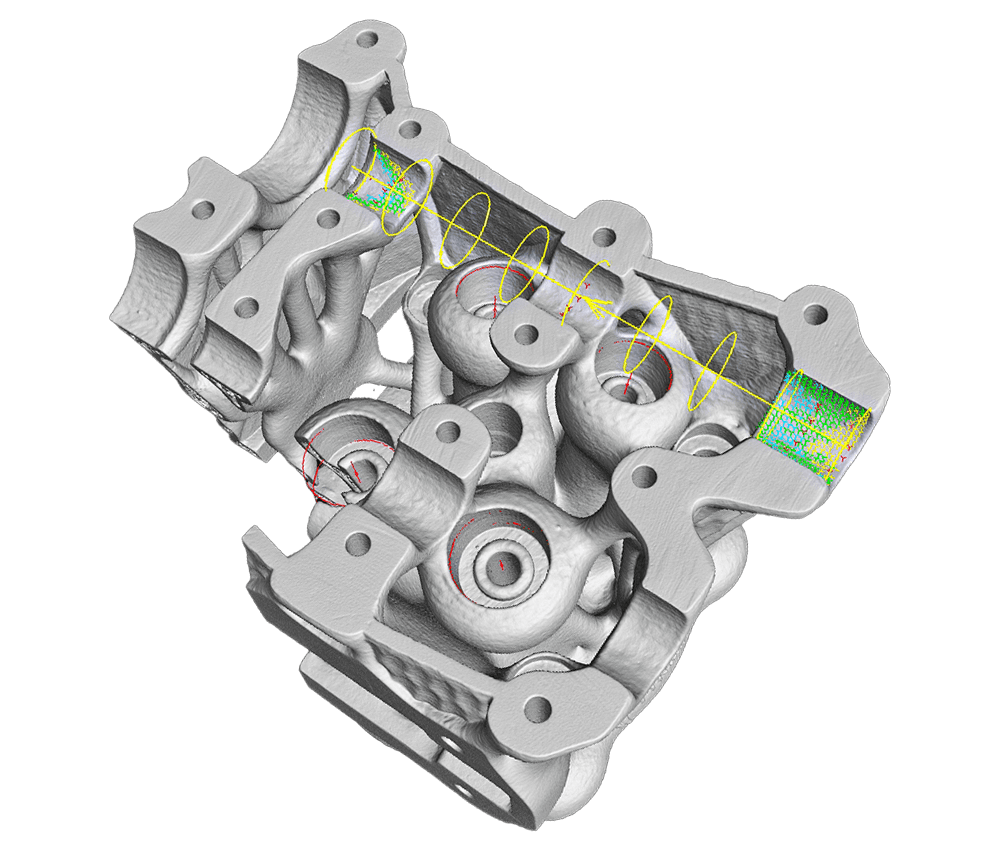
Three-dimensional measuring and testing of additively manufactured components, electro-mechanical assemblies, workpieces made of plastic [connectors, switches, housings, etc.], light metal cast components [pistons, housings, heat exchangers, etc.], composite materials [CFK, GFK] as well as high-alloy steels [valves, tensile specimens, etc.].
Industries
- Automotive Industry
- Electronics
- Additive Manufacturing
- Science & Research
- Aerospace
- Material Science
- Medical Technology
- Plastics Processing
Do you want to learn more about our application possibilities? Are you interested in a test?
Specifications

|
Reflection Tube |
190 up to 300 [kV] |
|
Transmission Tube |
160 up to 300 [kV] |
|
Detector |
3.000 x 3.000 px, 139 [µm] |
|
Focus-Detector-Distance |
400 - 1200 [mm], variabel |
|
Scan Volume |
Ø 320 x 265 H [mm] |
|
Scan Volume, vert. MKE * |
Ø 320 x 700 H [mm] |
|
Scan Volume, maximal |
Ø 520 x 650 H [mm] |
|
Sample Weight |
50 [kg] |
|
System Dimensions ** |
L 2.900 x B 2.050 x H 2.180 [mm] |
|
System Weight |
10,5 / 15 [t] |
|
diControl Features |
DR-Function, Helix CT, Batch Mode, Offset CT, Daily Check, Health Monitor, Limited Angle CT, |
|
Manipulation |
granite based, 5/6 axes |
*MKE : Measuring Circle Extension
** Standard system 240 kV plus control cabinet
Customized adjustments are available on request.
Next Steps
Please contact us, request further information or make an appointment.

 dsub
dsub d1
d1 d2
d2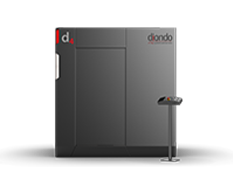 d3
d3 d5
d5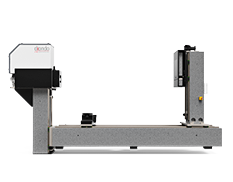 d7
d7